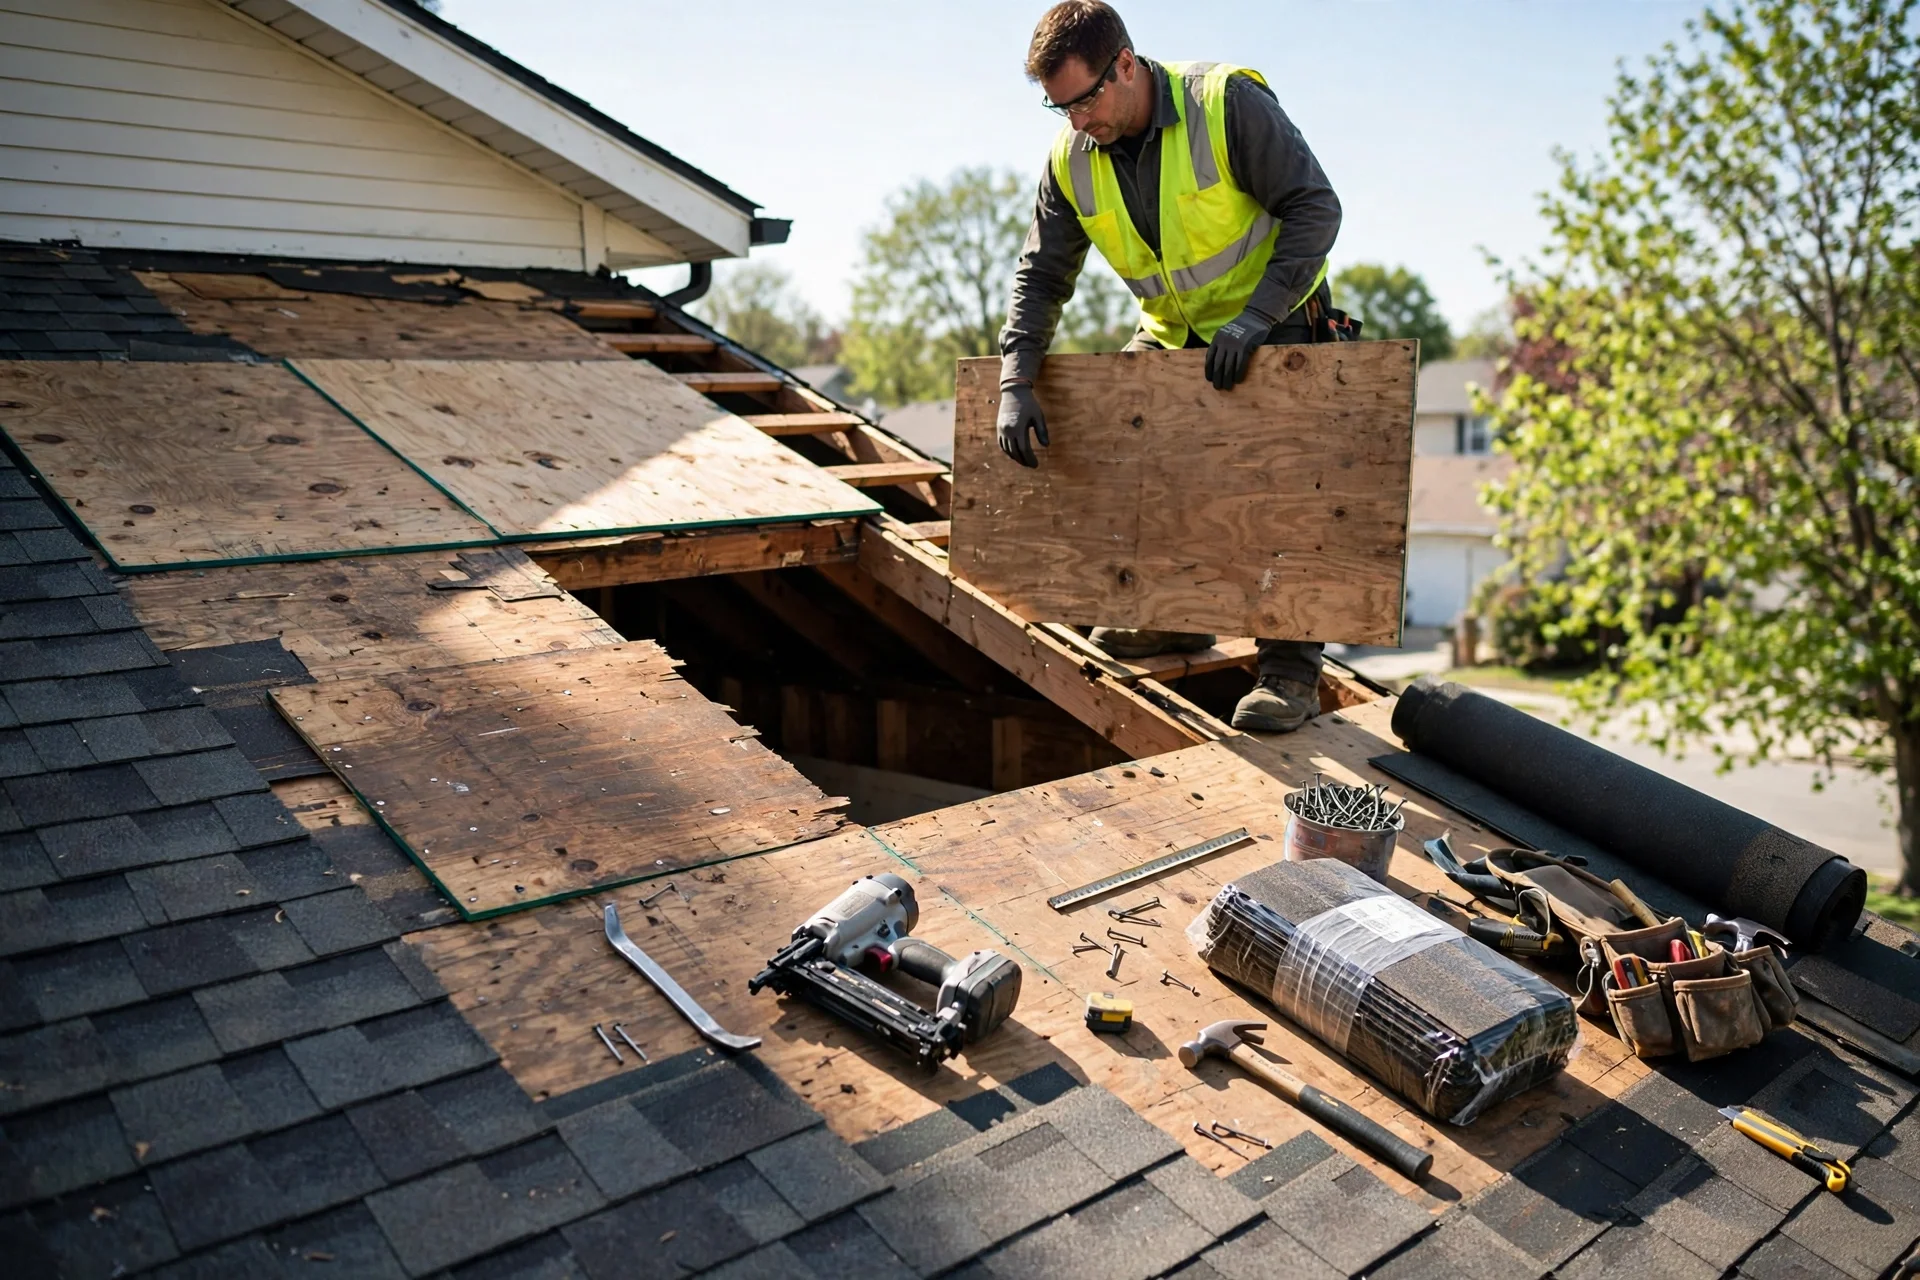
How to Repair Damaged Roof Sheathing Before Installing New Roofing Materials
To repair damaged roof sheathing before installing new roofing, strip the shingles and underlayment over the affected area, mark the full extent of the rot or delamination, cut the damaged panel out along rafter centerlines, inspect and sister any damaged rafters, install a new panel of matching thickness with proper fastener spacing, then seal the seams and cover it with underlayment. Never install new roofing over soft, spongy, or rotted decking: the new roof will fail at exactly the spot you skipped.
Roof sheathing, also called decking, is the plywood or oriented strand board (OSB) skin nailed across your rafters that gives shingles, underlayment, and flashing something solid to grip. When it rots, delaminates, or sags, the whole roofing system above it is compromised, no matter how good the new shingles are. This guide walks through finding the damage, deciding between a patch and a full panel replacement, and doing the repair so the new roof lasts.
What Roof Sheathing Does and Why It Fails
Sheathing does three jobs at once: it ties the rafters or trusses together into a rigid structure, it spreads roof loads such as snow and wind across the framing, and it provides the flat, continuous nailing surface that shingles and underlayment need. Typical residential sheathing is 7/16-inch to 5/8-inch OSB or plywood, fastened across the rafters with nails or screws. When it is sound, you can walk on it confidently; when it is damaged, it flexes underfoot and will not hold a nail.
Damage almost always starts with water. A failed flashing, a missing shingle, an ice dam, or a long-term leak lets moisture into the panel, and once OSB or plywood stays wet it swells, delaminates, and rots. Poor attic ventilation speeds the process by trapping humid air against the underside of the deck, and a roof re-shingled over damaged decking often hides a deck that should have been replaced years ago.
How Do You Tell Patchable Damage From Structural Failure?
The line between a patch and a replacement comes down to size, location, and how the wood feels. Small, non-structural holes under about four inches across, such as one left by a satellite dish mount, can usually be patched with a rigid filler or a cement-and-mesh repair. Anything larger than about six inches, any spot that feels soft or spongy underfoot, or any area where the panel has delaminated into layers needs a structural repair, which means cutting the damaged section out and installing new sheathing.
Location matters as much as size. Damage that spans the unsupported space between rafters is structural even if it looks small, because the deck can no longer distribute load. Damage near eaves, valleys, and penetrations is also more serious, since those areas carry more water and more fasteners. When in doubt, treat it as structural: a patch over a failing panel will telegraph through the new shingles within a season or two, and the repair will have to be done again with the new roofing removed.
Finding the Full Extent of Damage Before You Cut
Start from the attic, not the roof. On a dry day, go into the attic with a bright light and trace every water stain back to its source, marking the affected rafter bays with chalk or tape that will be visible from above. Water travels sideways under shingles far more than most owners expect, so the stain on the underside is often smaller than the true wet zone on top. Probe suspicious areas with a screwdriver: sound sheathing resists, rotted sheathing sinks in easily, and delaminated OSB flakes apart in layers.
Once on the roof, strip shingles and underlayment back at least a foot beyond the visibly damaged area in every direction, then walk the exposed deck and press firmly, checking for flex and softness. Mark the full damaged zone with chalk so the extent is clear before any cutting begins. Photograph everything: the photos help a contractor quote accurately, document the repair for a future buyer, and prove the work was done if a warranty question ever arises.
Tools and Materials for a Sound Sheathing Repair
A sheathing repair needs only a modest kit, but using the right materials matters more than having many of them. The replacement panel must match the existing deck thickness exactly, because mixing thicknesses creates an uneven plane that shows through the shingles and wears prematurely at the seam.
- Exterior-grade CDX plywood or OSB in the same thickness as the existing deck, usually 1/2 inch or 5/8 inch.
- A circular saw with the blade set to exactly the deck thickness, so rafters are never nicked.
- 2×4 lumber for blocking where cut edges do not land on a rafter.
- Ring-shank nails or corrosion-resistant screws, 8d size, for fastening the new panel.
- Ice and water shield membrane and synthetic underlayment for re-covering the repair.
- Safety gear: non-slip shoes, a harness with a reliable anchor, gloves, and eye protection.
Repairing Small Holes and Cracks Without Replacing a Sheet
For a small non-structural hole, clean the area thoroughly, removing loose fibers, dust, and debris so the patch bonds to sound wood. A two-part epoxy or exterior-grade wood filler works for minor defects. A stronger method uses roofing cement, a thick asphalt compound, spread over the hole and extended about six inches beyond the damage, with fiberglass mesh or metal patching tape pressed into the wet cement and covered with a second thin coat. The mesh spreads the load and keeps the patch from cracking as the roof flexes with temperature changes.
Small cracks along panel edges can be sealed the same way, but check first that the crack is not a sign of a larger problem, such as a sagging rafter or a panel that has lost its fasteners. If the deck moves when you press on it, or if the crack runs across a whole panel, stop patching and plan a structural replacement instead.
Replacing a Damaged Section Step by Step
A structural repair follows a fixed sequence, and skipping a step is how repairs fail within a year. Work on a dry day with no rain in the forecast, and keep the exposed deck covered with a tarp whenever you are not actively working on it.
Remove shingles, underlayment, and any ice and water shield from the repair area, working back to sound decking.
Mark the damaged section as a square or rectangle whose edges fall on the centerlines of solid rafters.
Set the circular saw to the exact deck thickness and cut along the marked lines, taking care not to cut the rafters.
Lift out the damaged panel and inspect the rafters and trusses underneath for rot, splitting, or insect damage.
Install 2×4 blocking where any cut edge does not land on a rafter, creating a continuous nailing surface.
Cut the replacement panel to fit, leaving a 1/8-inch gap on all sides for expansion, and fasten it with ring-shank nails every 6 inches on edges and 12 inches in the field.
Seal the seams with ice and water shield, re-lay underlayment, and install matching shingles over the repair.
Matching Thickness, Fasteners, and Gaps
The details of the replacement panel decide whether the repair disappears or telegraphs through the new roof. Thickness must match the original exactly. Fasteners must be driven flush, not overdriven through the panel face, and spaced to code, generally every six inches along supported edges and every twelve inches in the field. The small expansion gap around the panel prevents buckling as the wood swells and shrinks with the seasons.
Checking the Rafters Underneath Before New Sheathing Goes Down
The most expensive mistake in sheathing repair is covering damaged framing with new decking. Once the panel is out, inspect every exposed rafter or truss for rot, splitting, and insect damage. Soft or spongy rafters need sistering, which means bolting a new piece of lumber alongside the damaged one, before any new deck goes down. If a truss chord is damaged, stop and call a structural engineer, since trusses are engineered assemblies that should not be modified without professional guidance. Also check that the rafters are straight and level: a rafter that has sagged will leave a dip in the new deck that shows through the shingles.
Waterproofing the Repair Before New Roofing Goes On
New sheathing is vulnerable the moment it is installed, because bare wood absorbs rain quickly. Cover the repair with ice and water shield along the seams and eaves, then roll synthetic underlayment over the whole section, lapping it shingle-style so water sheds downward. If the new roofing cannot be installed the same day, cover the area with a secured tarp and check it after any wind. Never leave a repaired deck exposed through a rainstorm: swollen panels and wet underlayment will trap moisture under the new shingles and start the rot cycle all over again.
Roof Sheathing Repair Costs in Broad Terms
A small patch repair is a modest job, often a few hundred dollars in materials and a half day of labor. Replacing one or two full sheets, including stripping and re-shingling the area, typically runs into the low thousands, depending on roof pitch, access, and shingle type. A roof with widespread deck damage can climb much higher, and at that point a full re-decking during a re-roof is usually the better value.
When Sheathing Repair Needs a Licensed Roofer or Structural Pro
Small patches are within reach of a confident DIYer with proper fall protection, but most structural deck repairs belong to a licensed roofer. Call a professional when the damage covers more than a couple of sheets, when rafters or trusses are damaged, when the roof is steep or more than one story high, or when the repair involves valleys, chimneys, or skylights. A structural engineer is needed if trusses are compromised or if the framing has sagged significantly. And if the roof is under warranty, check the terms first: some warranties require repairs to be done by an approved contractor, and a DIY repair can void coverage.
Final Thoughts: Is Repairing Sheathing Before Re-Roofing Worth It?
Repairing damaged sheathing before new roofing goes on is not optional work, it is the work the new roof depends on. Shingles can only be as good as the deck beneath them, and a new roof installed over rotted panels will leak, sag, and fail years early. Find the full extent of the damage from the attic first, cut back to solid wood, match the panel and fasteners, and waterproof the repair the same day. Done properly, the repair disappears under the new roof and the whole system lasts as it should.
Roof Sheathing Repair FAQs for Homeowners
Can I install new shingles over damaged sheathing?
No. New shingles need a solid, flat nailing surface, and damaged decking will not hold fasteners, will flex underfoot, and will let water through. Roofing over a bad deck voids most manufacturer warranties and guarantees an early failure.
How do I know if my roof sheathing is rotted?
From the attic, look for dark stains, soft wood that a screwdriver sinks into, and OSB that flakes apart in layers. From the roof, walk the deck and feel for soft or spongy spots and visible sagging between rafters. A professional inspection with an infrared camera can find hidden wet areas.
Should I use plywood or OSB for the repair?
Either works if it matches the existing deck thickness. Plywood resists moisture a little better and holds nails well, while OSB is cheaper and very common in modern construction. The critical rule is matching thickness, not switching material type.
How much does it cost to replace a sheet of roof decking?
A single sheet replacement, including stripping and re-shingling the area, typically costs several hundred dollars in materials and labor, but the total depends on roof pitch, access, and shingle type. Widespread damage across many sheets costs far more and usually means a full re-decking during a re-roof.
Do I need a permit to repair roof sheathing?
Small repairs usually do not need a permit, but replacing large sections of decking or doing the work as part of a full re-roof often does. Check with your local building department, and remember that a permit usually triggers an inspection that verifies the repair was done correctly.
How long does a sheathing repair last?
A properly done repair lasts as long as the rest of the roof, because the new panel is the same material, fastened the same way, and protected by the same underlayment and shingles. What shortens its life is the original leak returning, so fix the flashing or ventilation problem that caused the damage in the first place.